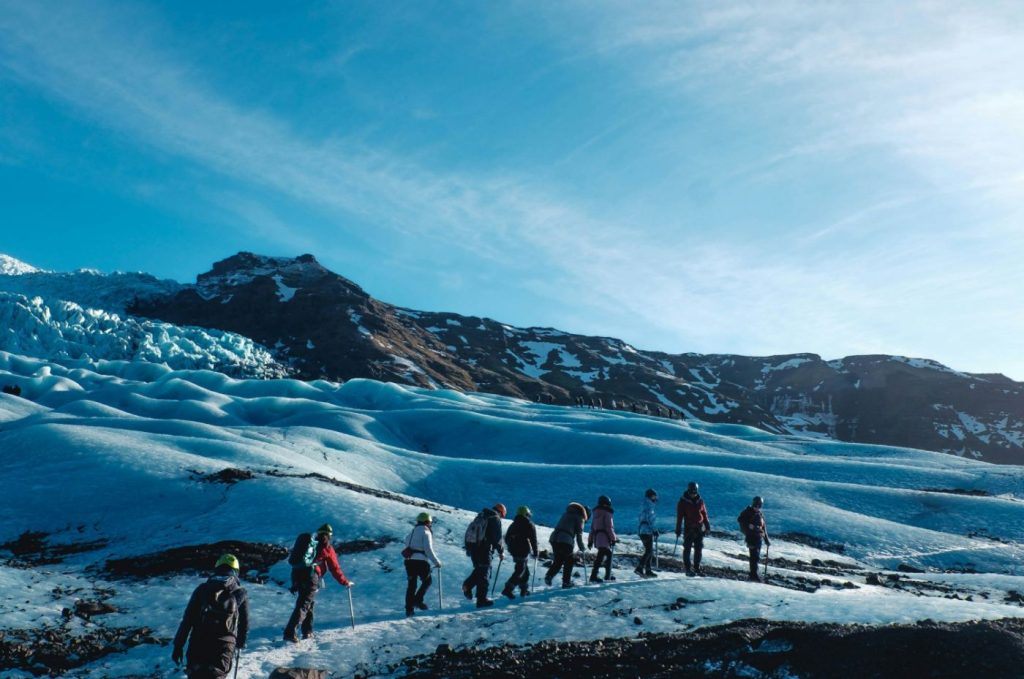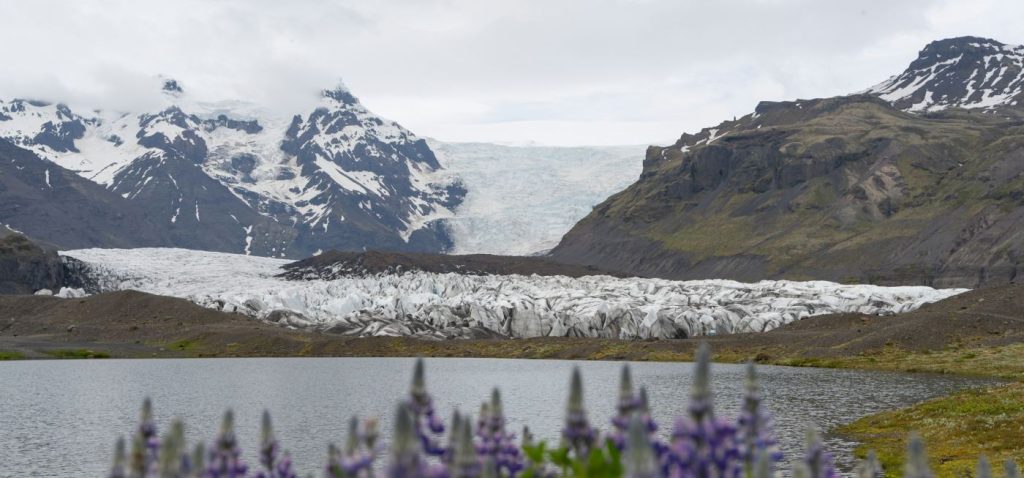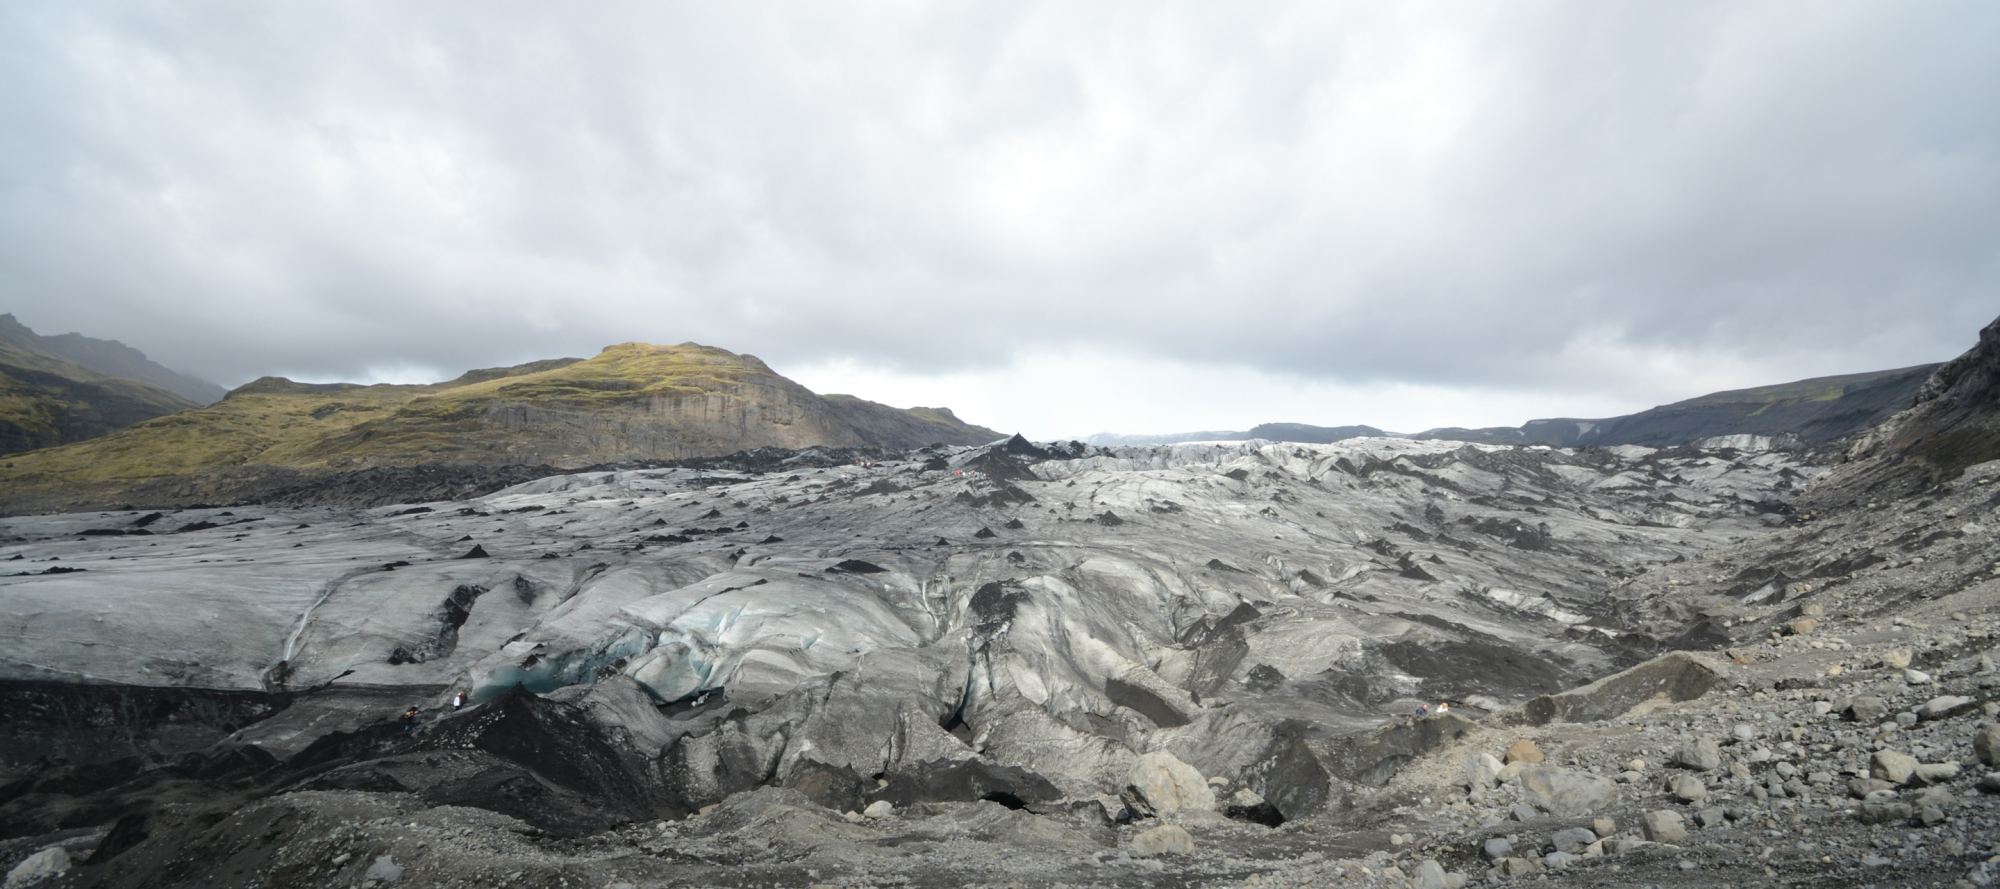
Before anyone clips into the rope, our guides take a few quiet minutes to read the ice. This note describes what they look at and why, as background for your first trip. It is not a substitute for training with a qualified guide.
1. Start with the snow line
Bare ice and snow-covered sections can look very different. Appearance alone does not establish a safe route. Safetravel notes that crevasses can have limited warning signs and recommends a qualified guide who knows the area.
2. Where crevasses hide
A guided trip begins with clear expectations. Before you book, ask the operator:
- What qualifications and local experience do the guides have?
- How can conditions change the planned route?
- What equipment and briefing are included?
“Ask your guide what to expect.”
Lead glacier guide, Northbound
3. Rope up before you need to
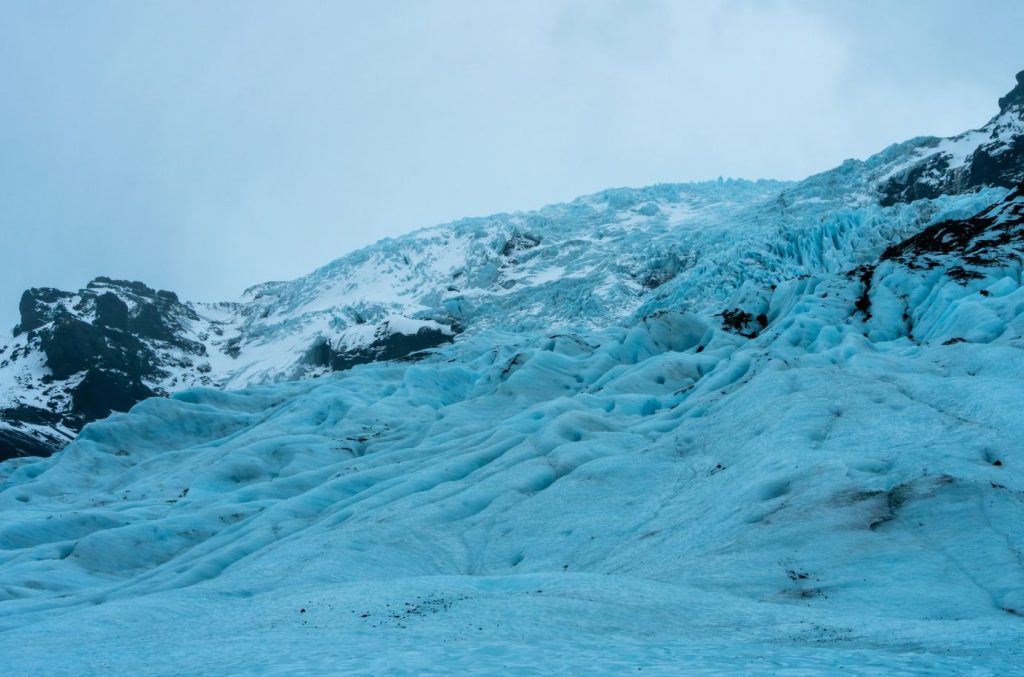
Your guide introduces the equipment and explains the group procedures before the activity begins. Ask questions whenever a step is unclear.
Field tip
Rope spacing and knots depend on the group, the season and the ice. Your guide sets them on the skills morning and walks you through each step.
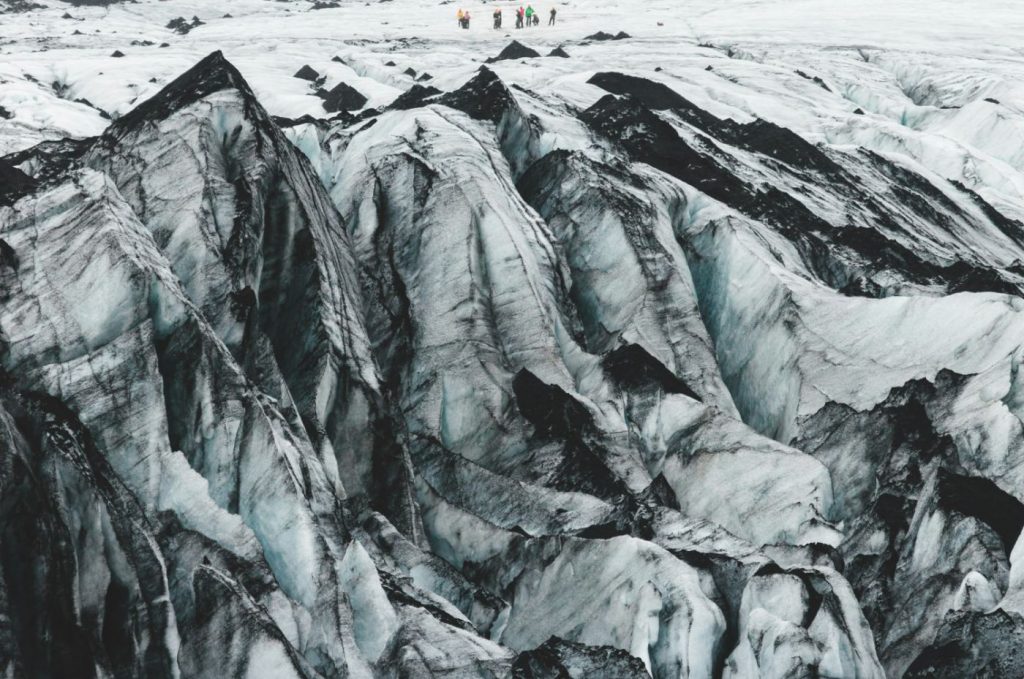
4. Turn around early
Weather on the ice cap can change quickly. We set a turnaround time every morning and keep it, even when the summit is in sight.
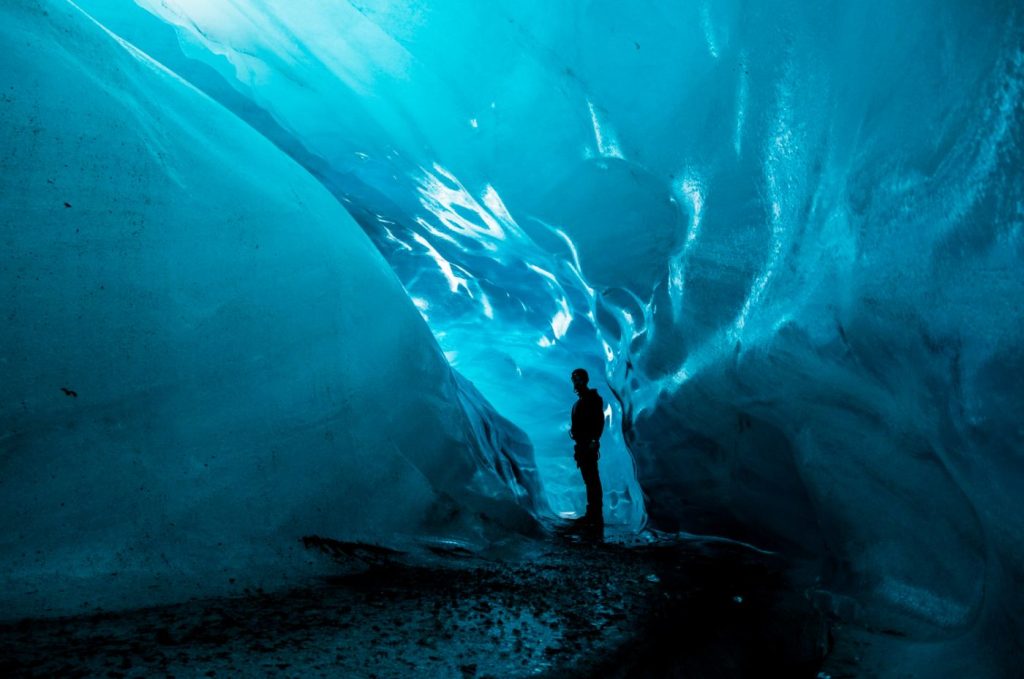
Learn this on the ice
Vatnajökull Ice Traverse
Rope skills are taught on day two. 9 days, grade 5, from €4,890.
5. Practise it on a course
Reading ice is a skill you build over seasons, not an afternoon. Our three day Glacier School covers everything in this note with a guide beside you on the Sólheimajökull outlet glacier.